Life Drawing-FS105

Semester 2

Final Grade: A

***WARNING***
This course dealt with basic anatomy, proportions, volume, value and general figure structure. Therefore, we used live, nude models in order to gain our general perspective.
If you would prefer to not view stetches, drawings, or rough outlines of nude models please do not scroll down.
I would understand - it was hard for me, as well.

Content includes:
4 Assignments, comprehesive pieces for the class.
1 Final Book Portfolio, as part of our final.
Final sketchbook selections.
Midway sketchbook selections.
Beginning sketchbook selections.
Samples of practice pieces from lessons in class, outlining the 5 step process taught in class.


Tuesday, June 8, 2010

Sketchbook Homework 1

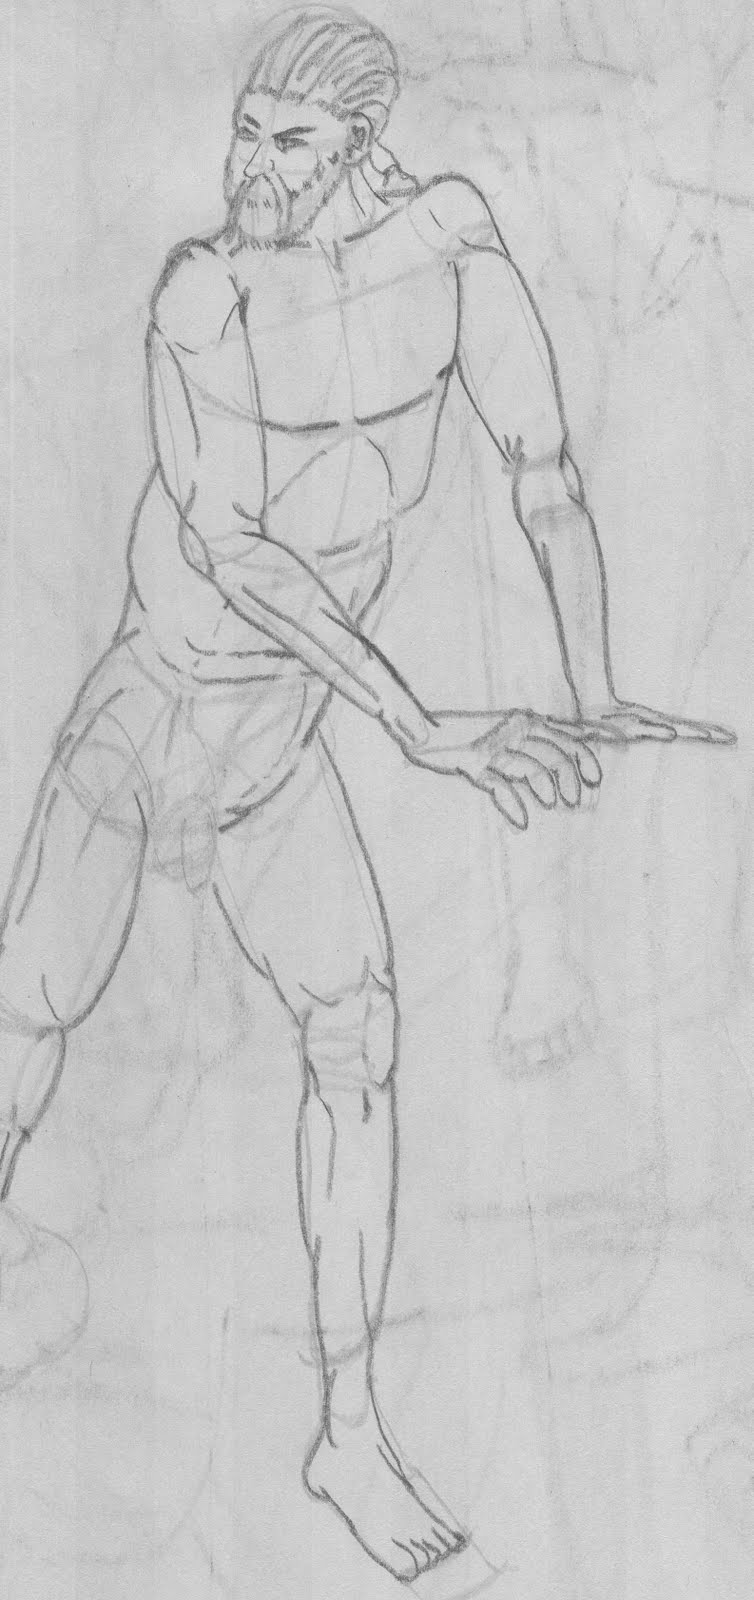
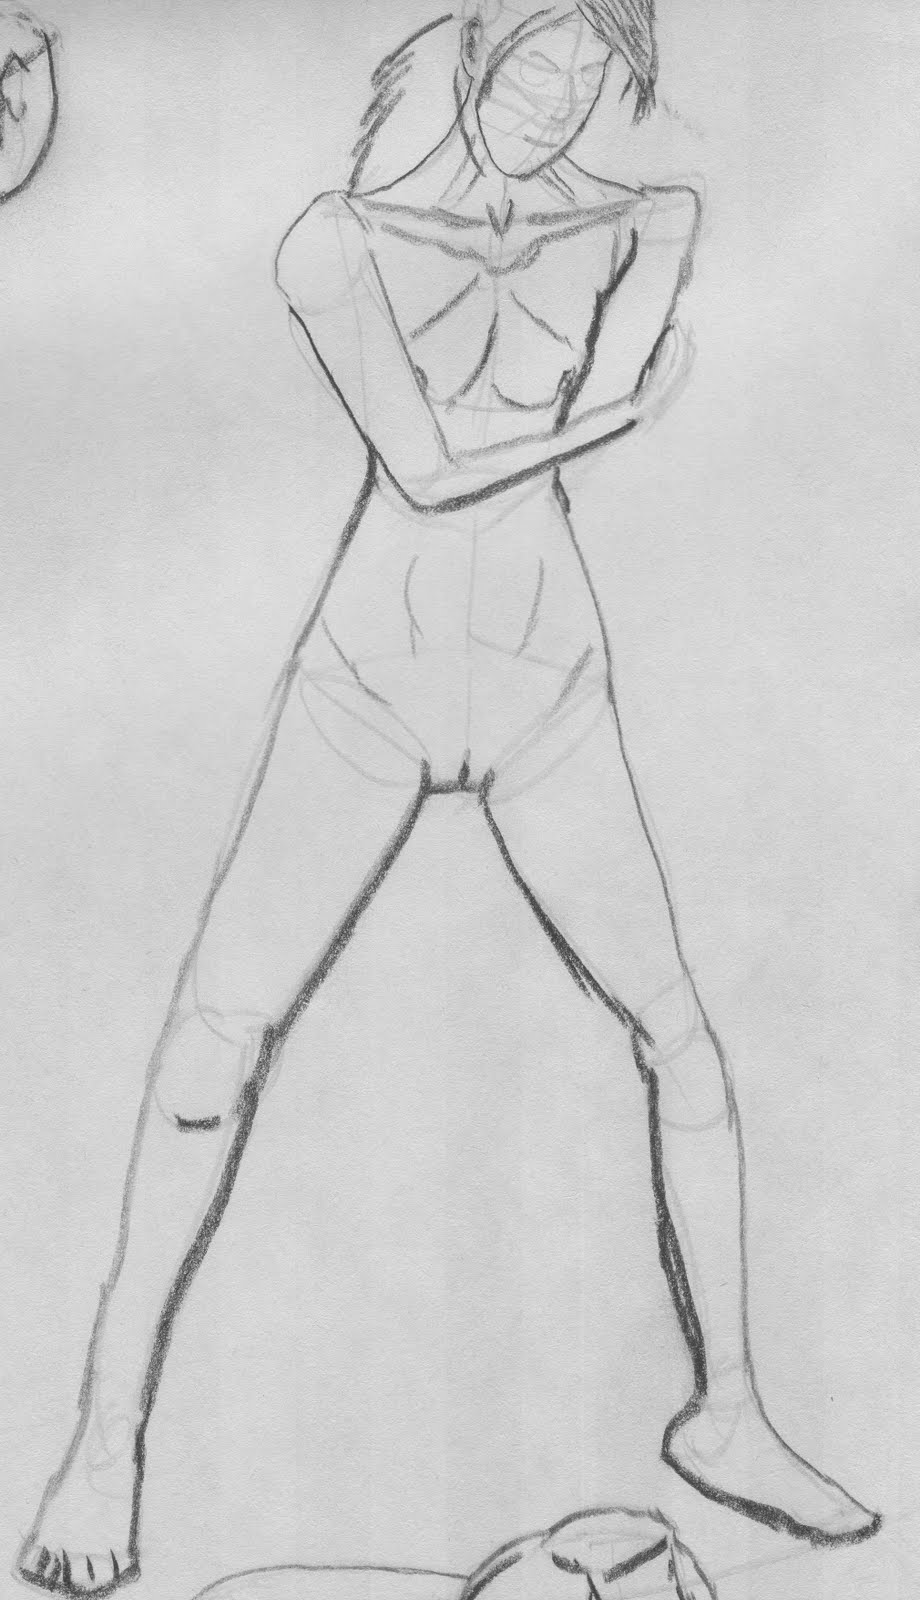
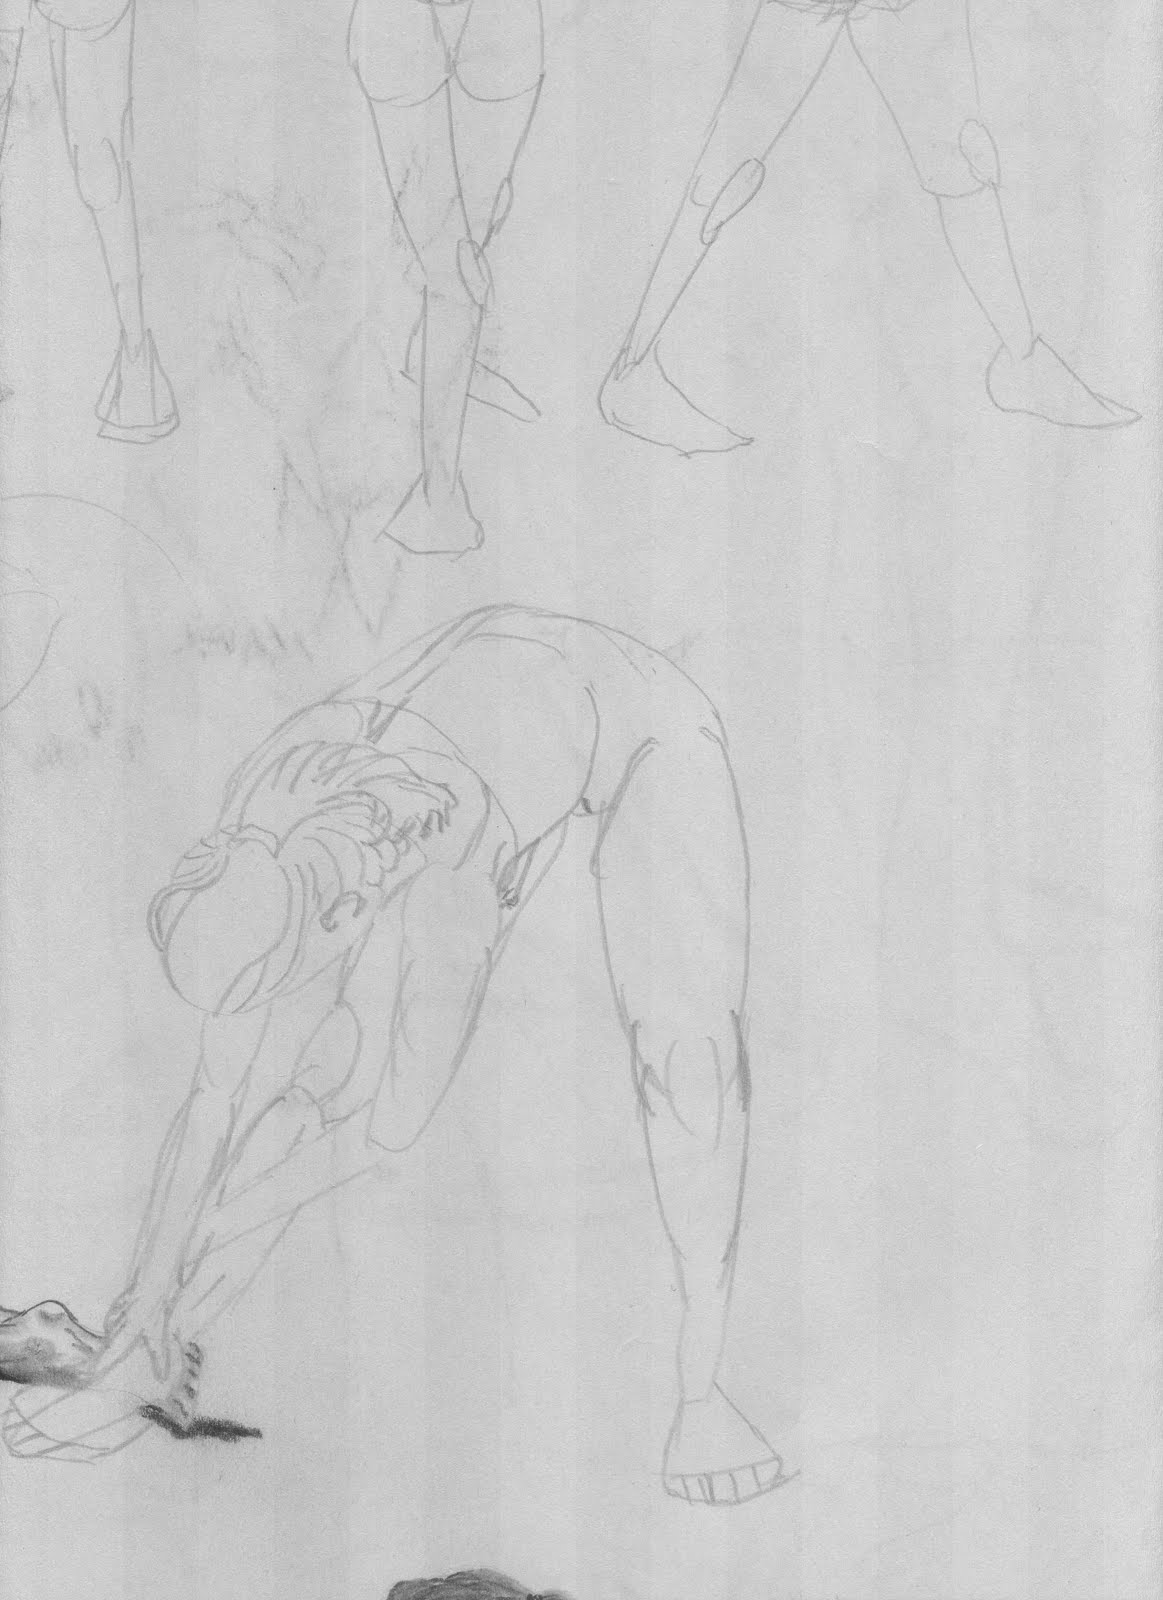
By the time my homework pieces were dark enough to be scanned I was tired of drawing skimpy models in falling bathing suits and Pac-Man sized smiles. I wanted to draw action and since my wife loves to dance we found these models fantastic. I loved drawing the action, grace, poise, dignity, movement, and power!
Even these simple line drawings hold a large contrast to my first drawings.


Step 5: Value and Volume

Value: Giving the figure the feeling of depth, a 3D-like quality that makes them 'pop-out'.
Volume: Light and dark gradual shading. This step really helps to give our figure that 3D-like quality and feeling of depth.

This could be the last step to completing our figure. This step includes both shading and texture with the intent to give the figure that 'rounded' 3D-type quality and making the picture 'pop out' of the page.

We used charcoal pencils in class in varying hardness. I now prefer a 4B for just about everything. I soften it up with my shammie if it gets too dark and blend with my paper-rolled blending stump. I use a smaller blending stump for details.
For practice in class we use newsprint paper. It really absorbs the charcoal from the paper, making it hard to bring out some serious shadows but it is relatively inexpensive and therefore good for practice.
Take a look at my final figure drawings for a comparison between the two paper types.

Don't forget the core shadow below the figure so that it doesn't seem like it is floating.

Barbie

Jim


Dani

Step 4: Fleshing


We learned about major bone and muscle groups to give the realistic quality to our figures. In this semester we only focused on the muscle groups in the torso.
A perfect place to practice our 'T's'!
You can still see the basic shapes underlying the figure. They are our guide as to where we should place the muscles and protruding bone structures.

Bones:
Front

Back
Spine (neck and back)
Scapula (shoulder blades)

Front
Sternmastoid (neck)
Pectoralis Major (Pectorals-chest)
Rectus Abdominis (abs-stomach)
Obliques (love handles)
Serratus Anterior (sides over rib cage, under the arms)

Back
Trapezius (neck)
Latissimus Dorsi (shoulder blades, opposite of chest)
Gluteus Maximus and Medius

This allows us to draw muscles and bones on top of our 'basic shapes skeleton.' It also provides guidelines and direction for our value and volume.

Kimberly


Jim


Dani


Step 3: Basic Shapes


In Obervational Drawing we learned how to give volume and value to the 4 basic shapes: cube, sphere, cylinder, and pyramid. In Life Drawing we learn how to find these basic shapes in the figure. Hips are cubes, heads are oblonged spheres, arms and legs are cylinders, and the torso can be a cube if it is a male or a sphere if it is a female.
This also acts as building the bone structure for our figure.

We also learned how to overlap these shapes to give them depth, or value. This gives the figure a 3D, realistic quality. A good tool to use overlapping is to find the 'T' in a drawing.
Take a look and see how many 'T's you can find in these overlapping shapes.

Dani


Kimberly

Step 2: Landmarks


FRONT:
Pit of the neck
Nipples
Navel
Bottom of Groin

BACK:
7th cervical vertebrae
Spine of scapula
Spine
Sacral Triangle

To make sure we have the right proportions in our figures we also learn about finding landmarks. All figures have the same 8 landmarks that we use to make sure we are following the correct 'roadmap' in building our figures.
This is especially important with 'forshortening.' This is when the figure comes towards you and the artist can't rely on size and distancing for accurate proportions. See Dani below for a good example of forshortening.

Dani


Step 1. Gesture


The "Gesture" is the energy, essence, or life of the figure. Without the gesture all the rest of the drawing dies. The drawing should be able to depicted from the gesture alone. This can be captured by starting with the head, spine, and hips. Rough outlines of the limbs and body are all that are necessary. The gesture is also used as a rough 'roadmap' for the rest of the drawing but it's original intent is to portray the life of the drawing.

The opposite of this is what I had previously been doing - a contour drawing, where the artist only draws the outside of the figure. This ignores the gesture and only draws the outside, as if it were only a shadow.

Gesture is key and should always be step 1.

We had 4 models in our Life Drawing class: Dani, Barbie, Kimberly, and Jim.

Jim


Dani